
Wednesday, February 24, 2016

Thursday, May 28, 2015


Saturday, May 2, 2015

Thursday, April 30, 2015

Monday, April 27, 2015
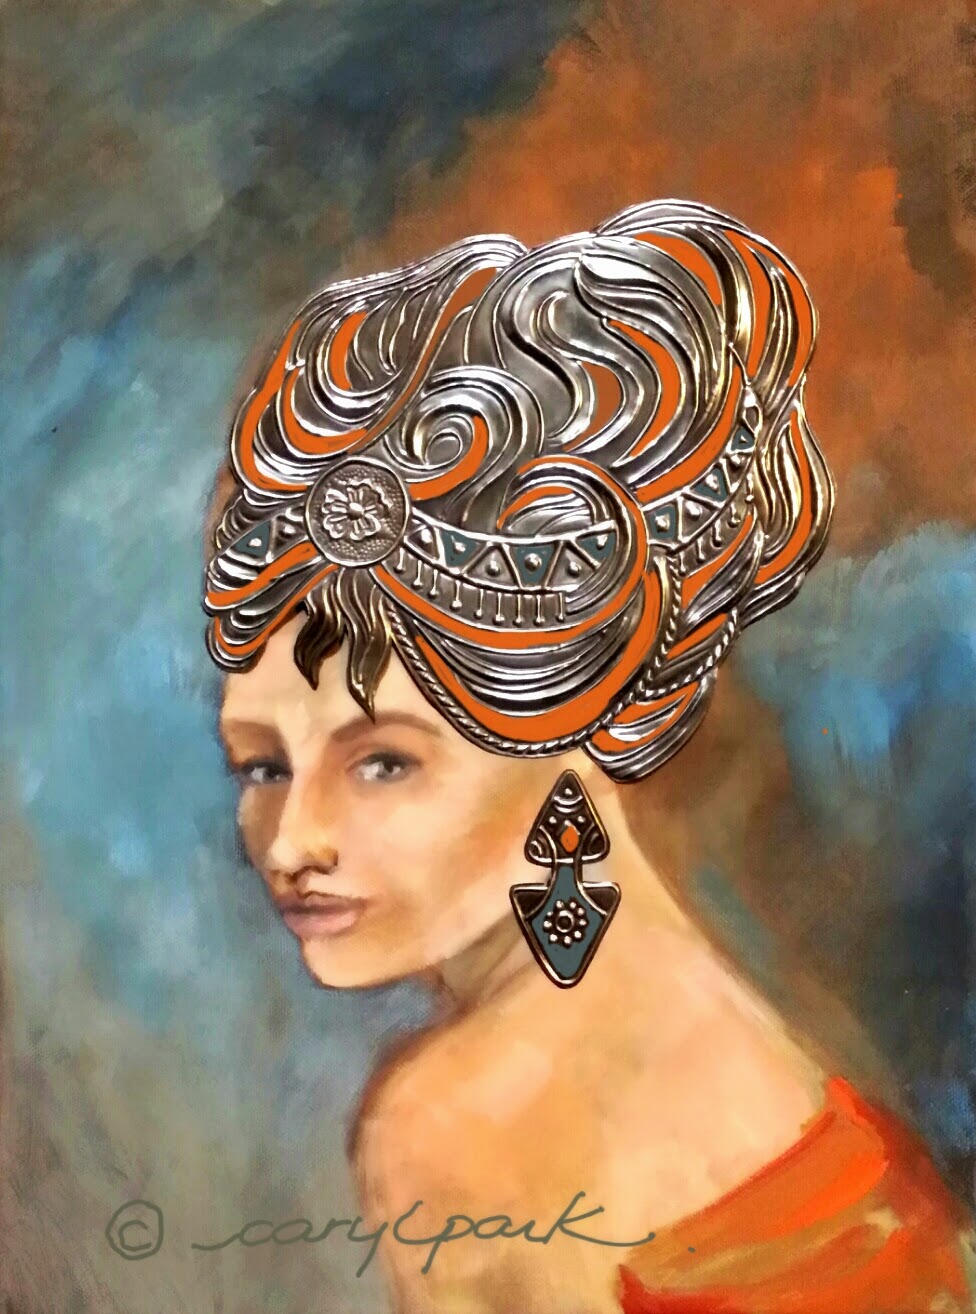
Pewter Portrait
Thursday, January 8, 2015


Thursday, January 1, 2015

Thursday, June 26, 2014
Koi Fish Wedding.

Wednesday, April 30, 2014


Pewter Classes and Courses


My classes are a little different to the way most people teach and I have done this for a reason. Most people seem to think that with one or two lessons you are well on your way. Well that might be true as far as being able to make lots of different things in pewter but then often one begins to get bored.
I am an artist and have been doing arts and crafts for almost 40 years so I get bored easily. Pewter is either a craft or an art and each person must decide for themselves how far they want to go with their pewter work. Do you want to make the same things everyone is making or do you want your work to be different and have your own special look?
My classes are very in depth and we cover a lot in the 6wks. Once you have done the 6 week course you will be well on your way to making just about anything you want without feeling that you don't know what to do next.
The Vintage Course is for advanced students. Anyone who has done a course with me, will know that I have a Pewter language when I teach, tram lines, ski jumps, reverse tracing, drunk ants and many more Carylisms ! When doing the vintage course it is important that people know what they are doing because if they don't, the class is held up with me trying to teach something that a student should already know and then other students are kept waiting for the demonstrations and assistance they might need from me one on one. So, if you are interested in doing the Vintage course I would need to see your work, before agreeing to you doing the course. A bit of a mouthful but basically that's how it works.
There are a lot more photos of finished work on the Facebook page so please drop by and leave your comments.
Take good care
Caryl
Thursday, December 19, 2013


Vintage Pewter


These are my attempts at Vintage Pewter done some years ago. Untidy, the background hasn't been flattened properly... the pattern gets lost completely.

Bits n Pieces

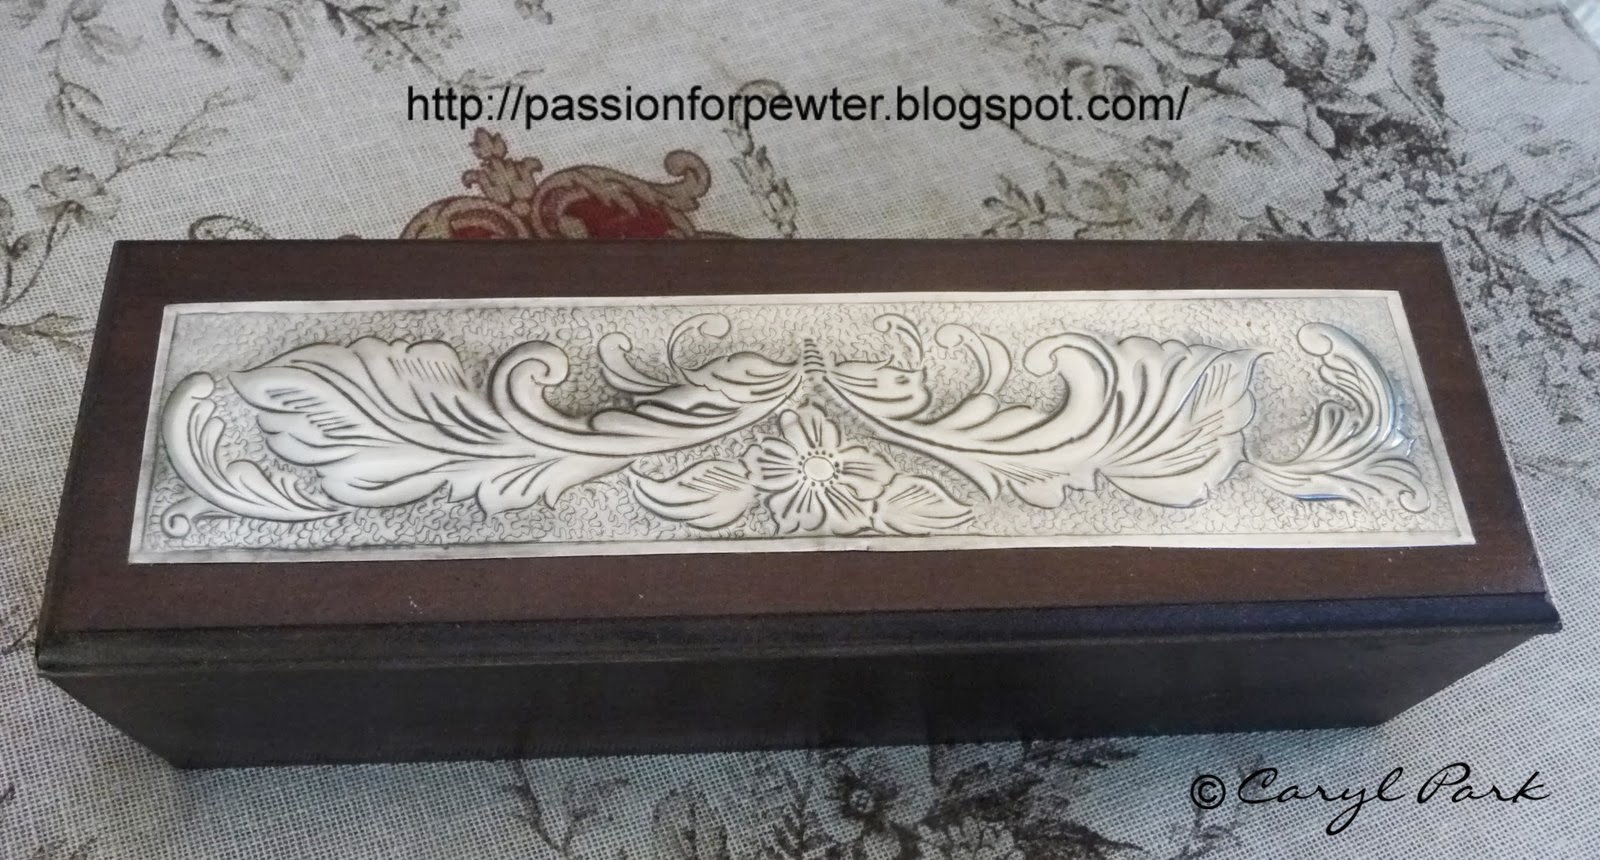
Journal covers. This is not one of my patterns or ideas but this cover is so popular. Tip: don't forget to put some wax in the areas that you have done in higher relief. It is a journal cover so writing on the pages all the time will add pressure and you don't want the patterns to be damaged in any way.

The centre has got wax in the middle. Try not to push it through too much or it might be difficult to write on the left hand page.
Vintage Engraving. This technique is different to the technique I use when I am doing Vintage techniques with high relief.

Love Vintage engraving it is easy, quick and looks like silver when polished.
Pewter tips

Try holding the tools you are going to use in your left hand, that's if you are right handed of course. It makes it a lot easier to work quickly. I was working with the paper stub in my right hand at the time.
Pewter tips

Tips for working on bigger pieces, try not use too much pressure. It must just be heavy enough to show you clearly on the reverse side where to press out your design, but not so heavy that the background competes with the foreground. Take your time.

If you are going to design something for a cover of a book make your design work with the shape of your journal. In this case the book is A4 but landscape, so the information is easy to read in this half moon design.
Sunday, November 24, 2013
Student Comments
The course was full and
informative and I finished it knowing a great deal more then when I started. I
also gained confidence in how to tackle ‘difficult’ projects. I am looking
forward to being able to make more and more interesting and challenging
things. Thank you!
Jill
Thursday, October 17, 2013
Gift from Sharon Vallance


This was a beautiful jewellery box made for my by my friend Sharon. Aside from the fact that she must have taken hours to make the pewter box she did this master piece of art work in the inside. I wish I could show you just how EXQUISITE it really is. She is a fine artist and does the most beautiful artwork so to be given something like this was an absolute delight for me.


Friday, September 27, 2013


Subscribe to:
Posts (Atom)